Turning Steel Boxes into Dream Homes: Your Complete Guide to Container House Conversion
If you’ve ever walked past a row of shipping containers and imagined a sleek, modern living space tucked inside those steel walls, you’re not alone. The “container house” movement has taken the design world by storm, offering an affordable, eco‑friendly, and surprisingly stylish alternative to traditional construction. In this post we’ll walk you through every step of converting a shipping container into a cozy home—from budgeting and design choices to the nuts‑and‑nuts of building regulations. By the end, you’ll have a clear roadmap that turns a simple steel box into a place you’ll love calling home.
Why Choose a Container House?
| Benefit | What It Means for You |
|---|---|
| Cost‑Effective | A 40‑foot container costs $2,500–$4,500 (bare shell). Compared with a conventional house that can run $150‑$200 per square foot, you’re looking at a huge saving. |
| Speed of Construction | A well‑planned container home can be “move‑in ready” in 8‑12 weeks, far quicker than the 6‑12 months typical for a stick‑built house. |
| Eco‑Friendly | You’re repurposing steel that would otherwise sit idle in a yard. Add insulation and solar panels and you have a low‑carbon footprint oasis. |
| Durability | Steel frames are resistant to termites, rot, and many natural disasters (when properly anchored). |
| Modular Flexibility | Stack, side‑by‑side, or combine multiple containers to create any floor plan you can imagine. |
If those points got your imagination humming, let’s dive into the practical side of the conversion.
Step 1: Define Your Vision and Budget
Before you start measuring the steel, ask yourself a few key questions:
- How many people will live there?
- Do you need a single‑story studio, a two‑story family home, or something in‑between?
- What climate are you building for? (Insulation needs vary dramatically.)
- What’s your total budget—including land, permits, utilities, and interior finishes?
Sample Budget Breakdown (USD)
| Item | Low‑End | Mid‑Range | High‑End |
|---|---|---|---|
| Container(s) (40‑ft) | $2,500 each | $3,500 each | $4,500 each |
| Land (per ¼ acre) | $5,000 | $12,000 | $20,000 |
| Site prep & foundation | $2,000 | $5,000 | $9,000 |
| Insulation & interior walls | $3,000 | $6,500 | $10,000 |
| Plumbing & electrical | $4,000 | $8,500 | $13,000 |
| HVAC (mini‑split) | $1,200 | $2,500 | $4,500 |
| Interior finishes (kitchen, bathroom) | $5,000 | $12,000 | $20,000 |
| Permits & inspections | $1,000 | $2,000 | $3,500 |
| Total Approx. | $23,700 | $57,000 | $97,000 |
Numbers are illustrative and will vary by region, size, and design choices.
Step 2: Secure the Land and Check Zoning
Even the most beautifully designed container home can’t be built if the land isn’t zoned for residential use. Here’s a quick checklist:
- Zoning Classification: Verify that the parcel allows for “accessory dwelling units” (ADUs) or “manufactured homes.” Some municipalities treat container homes like tiny houses, others as modular structures.
- Setback Requirements: Most towns require a certain distance from property lines (often 10–20 ft).
- Utility Access: Ensure water, sewer, electricity, and internet can be connected affordably.
- Soil Test (Optional but Recommended): A simple percolation test tells you if a septic system is viable.
If you’re unsure, a local architect or a permitting consultant can save you headaches later.
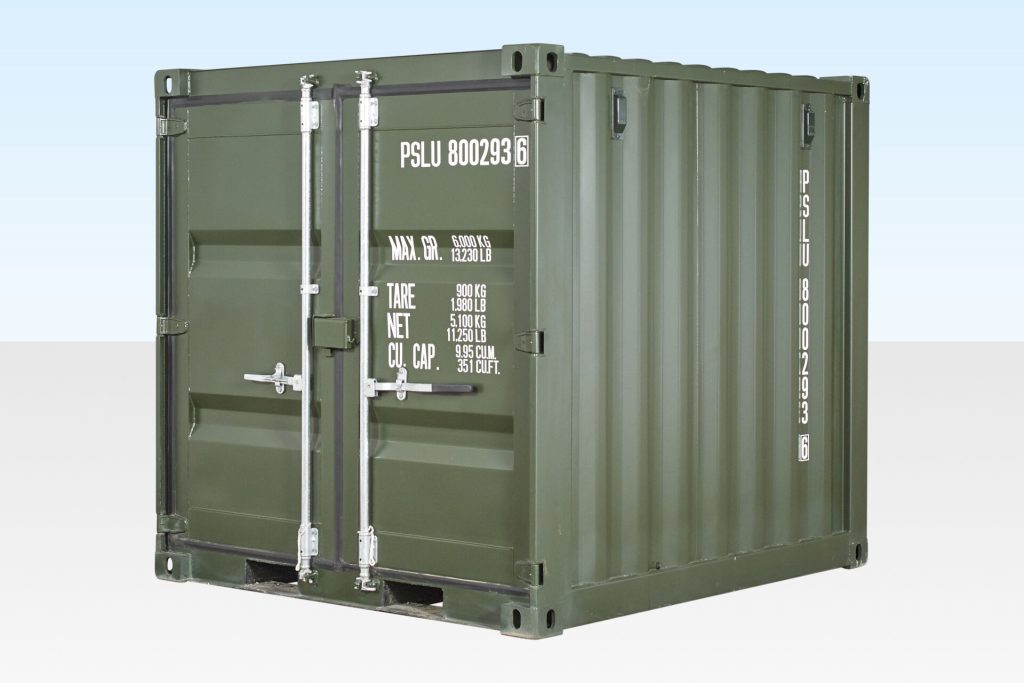
Step 3: Choose the Right Container(s)
Size & Configuration
| Container Type | Dimensions (L × W × H) | Typical Use |
|---|---|---|
| Standard 20‑ft | 20 ft × 8 ft × 8.5 ft | Small studio, guest room, bathroom pod |
| Standard 40‑ft | 40 ft × 8 ft × 8.5 ft | Main living area, kitchen, bedroom |
| High‑Cube 40‑ft | 40 ft × 8 ft × 9.5 ft | Extra headroom, loft spaces |
| Refrigerated (“Reefer”) | Same as 40‑ft | Built‑in insulation; great for cold climates |
For a comfortable family home, most builders start with at least one high‑cube 40‑ft container for the living‑area core and add a second 40‑ft or 20‑ft container for a bedroom or bathroom wing.
Condition Matters
- “New” (One‑trip) containers are pristine but cost $4,000–$6,000 each.
- Used containers can be as low as $2,500, but inspect for rust, dents, and water damage.
- Certified “dry‑cargo” containers have never carried liquids, reducing the risk of corrosion.
Step 4: Design the Layout
Think of the container as a blank canvas. Here are a few layout tricks that maximize space and comfort:
- Cut the Long Side, Not the Ends: Removing a long wall opens a larger interior footprint and allows for big windows or sliding doors.
- Create a “C‑Shape” Layout: Three containers (two parallel, one connecting) form a natural courtyard—great for natural light and ventilation.
- Add a Loft: With a high‑cube container, a loft can serve as a sleeping zone, keeping the ground floor open for living space.
- Plan for Structural Integrity: Any cut larger than 10 % of a side must be reinforced with steel frames or welding plates.
Sample Floor Plan (2‑Container Home)
| Space | Dimensions | Features |
|---|---|---|
| Living/Kitchen (Open) | 20 ft × 8 ft | Sliding glass door to patio, island countertop, ceiling‑mounted LED lights |
| Bedroom | 12 ft × 8 ft (cut from long side) | Built‑in wardrobe, large window, recessed lighting |
| Bathroom | 6 ft × 8 ft | Composting toilet, walk‑in shower, low‑flow fixtures |
| Loft (Optional) | 8 ft × 8 ft | Reading nook, skylight, access via ladder |
| Total Sq ft | ≈ 448 sq ft | — |
Step 5: Insulation, Ventilation, and Weatherproofing
The most common mistake newbies make is skimping on insulation. Cold steel conducts heat (or cold) like a metal lunchbox, so proper insulation is essential for comfort and energy efficiency.
| Insulation Type | R‑Value (per inch) | Pros | Cons |
|---|---|---|---|
| Spray Foam (Closed‑Cell) | 6–7 | Air‑tight, adds structural strength, resists moisture | Higher cost |
| Rigid Foam Boards (XPS) | 5 | Easy to install, flat surface for interior walls | Requires careful sealing at seams |
| Mineral Wool Batts | 3.5 | Fire‑resistant, sound‑absorbing | Can settle over time |
| Reflective Insulation (Radiant Barrier) | 1–2 | Good for hot climates, cheap | Needs additional insulation for cold weather |
Ventilation: Install operable windows and a heat‑recovery ventilator (HRV) to keep indoor air fresh without losing heat. A simple exhaust fan in the bathroom and a ceiling-mounted fan can also do the trick.
Weatherproofing: After cutting openings, wrap the exterior with a waterproof membrane (e.g., EPDM rubber) and apply rust‑inhibiting primer before painting. A durable exterior paint system will protect the steel for decades.
Step 6: Electrical & Plumbing Basics
Even if you’re a DIY enthusiast, it’s wise to involve a licensed electrician and plumber for the “hard” connections. Here’s a high‑level overview:
- Electrical: Run a 100‑amp sub‑panel inside the container. Use conduit that’s rated for interior use, and install GFCI outlets in kitchen and bathroom.
- Lighting: LED recessed strips are perfect for low‑profile ceilings; add pendant lights over the kitchen island for a touch of style.
- Plumbing: A “wet wall” (stacked pipe) can be placed along the container’s interior edge, minimizing drilling. For water heating, a tankless electric heater or solar water heater works well with small footprints.
- Waste Management: If municipal sewer isn’t available, a small septic system or a composting toilet can keep you off the grid.
Step 7: Interior Finishes and Personal Touches
Your container home can feel as luxurious as any conventional house with the right finishes.
- Flooring: Vinyl plank, engineered hardwood, or polished concrete are all compatible with steel framing.
- Walls: Drywall over insulated studs gives a traditional look; alternatively, beadboard or reclaimed wood adds character.
- Ceilings: Drop ceilings are a quick solution, but exposing the steel ceiling with a matte paint finish can create an industrial chic vibe.
- Furniture: Opt for multi‑functional pieces—like a sofa bed or a folding dining table—to keep the space uncluttered.
Step 8: Permits, Inspections, and Moving In
Once construction is complete, you’ll need to schedule final inspections for:
- Structural integrity (usually covered by the building department)
- Electrical (NEC compliance)
- Plumbing (proper venting, waste disposal)
Only after passing these can you obtain a Certificate of Occupancy (CO). Then it’s time to move in, unpack, and enjoy your new sustainable haven!
Frequently Asked Questions (FAQ)
| Question | Answer |
|---|---|
| Do I need a foundation? | Yes. Even a simple concrete pier or shallow slab prevents the container from shifting and protects the steel from ground moisture. |
| Can I live in the container while building it? | It’s possible with a “phased” approach—finish one container for living, then build the rest. However, ensure all utilities are safe and code‑compliant before moving in. |
| How long does a conversion take? | For a modest 2‑container home, 8‑12 weeks is typical (including site prep, framing, and interior finishes). Larger projects may take 4–6 months. |
| Is a container home safe in earthquakes? | When properly anchored to a foundation and reinforced where cuts are made, containers perform well in seismic events. Always follow local engineering guidelines. |
| What about resale value? | As the trend grows, container homes are becoming more desirable, especially in urban infill and eco‑conscious markets. Good design and quality construction boost resale potential. |
| Do I need special insurance? | Standard homeowner’s insurance usually covers container homes, but verify with your insurer that the structure type is listed. |
| Can I add solar panels? | Absolutely! The flat roof is ideal for mounting photovoltaic panels; a small system can cover most of your electricity needs. |
| What’s the best way to finance a container home? | Options include personal loans, construction loans, or specialized “tiny home” financing. Some lenders view container homes like modular homes, which can make approval easier. |
| Are there any hidden costs? | Permit fees, utility hookups, and site‑specific soil work can add up. Always include a 10‑15 % contingency in your budget. |
| Do I need a professional architect? | Not always, but a design professional can help navigate codes, optimize layout, and ensure structural safety—especially for larger or multi‑story builds. |
Final Thoughts: Your Steel Sanctuary Awaits
Converting a shipping container into a home is more than a DIY project; it’s a statement about sustainability, creativity, and smart living. By following the steps above—defining your budget, securing the right land, choosing the ideal container(s), and paying close attention to insulation, utilities, and local regulations—you’ll be well on your way to moving into a space that’s uniquely yours.
Remember, every great home starts with a solid foundation (both literal and figurative). Take the time to plan, consult professionals where needed, and enjoy the process of watching a raw steel box transform into a warm, welcoming haven.
Ready to roll up your sleeves? Grab a sketchpad, start measuring, and let the conversion adventure begin. Your future container house is just a few cuts, a lot of love, and a dash of steel away. Happy building!