How to Hire a Container: Your Friendly Step‑by‑Step Guide
If you’ve ever needed a quick, secure, and cost‑effective space for anything from a home renovation to a pop‑up shop, you’ve probably heard the phrase “hire a container.” But what does that actually involve? Which type of container is right for you? How much will it cost, and what should you look out for before you sign the contract?
In this friendly, second‑person guide we’ll walk you through everything you need to know—from the basics of container hiring, through choosing the perfect size, to getting the best deal and avoiding common pitfalls. We’ll also sprinkle in handy tables, quick‑reference lists, and a FAQ at the end so you can find answers in a flash.
1. Why Hire a Container?
| Use‑Case | Benefits of Hiring a Container | Typical Duration |
|---|---|---|
| Home Renovation | Secure on‑site storage for tools, debris, and materials; weather‑proof | 1‑3 months |
| Construction Site | Portable office, break‑room, or equipment locker | 2‑12 months |
| Seasonal Business | Pop‑up retail, food truck back‑office, or event ticket office | 1 week‑3 months |
| Moving & Storage | Temporary storage while you transition between homes | 2‑6 months |
| Disaster Relief | Rapid deployment of shelter and supplies | Immediate, up to 12 months |
Bottom line: A hired container is a versatile, lockable space that you can move wherever you need it—without the long‑term commitment of buying one outright.
2. Types of Containers You Can Hire
| Container Type | Dimensions (L × W × H) | Typical Load Capacity | Ideal For |
|---|---|---|---|
| Standard 20‑ft Dry | 20′ × 8′ × 8′ 6″ (6.1 × 2.44 × 2.59 m) | 28,000 lb (12,700 kg) | Small‑scale storage, tools |
| Standard 40‑ft Dry | 40′ × 8′ × 8′ 6″ (12.2 × 2.44 × 2.59 m) | 59,000 lb (26,800 kg) | Larger inventories, workshop |
| High‑Cube 40‑ft | 40′ × 8′ × 9′ 6″ (12.2 × 2.44 × 2.90 m) | Same as standard 40‑ft | Extra headroom for tall items |
| Reefer (Refrigerated) | 20‑ft or 40‑ft (same outer dims) | 30,000 lb (13,600 kg) | Perishables, pharmaceuticals |
| Open‑Top | 20‑ft or 40‑ft (open roof) | 28–59 k lb | Oversized loads, raw materials |
| Flat‑Rack | 20‑ft or 40‑ft (no sidewalls) | 35–55 k lb | Machinery, steel coils |
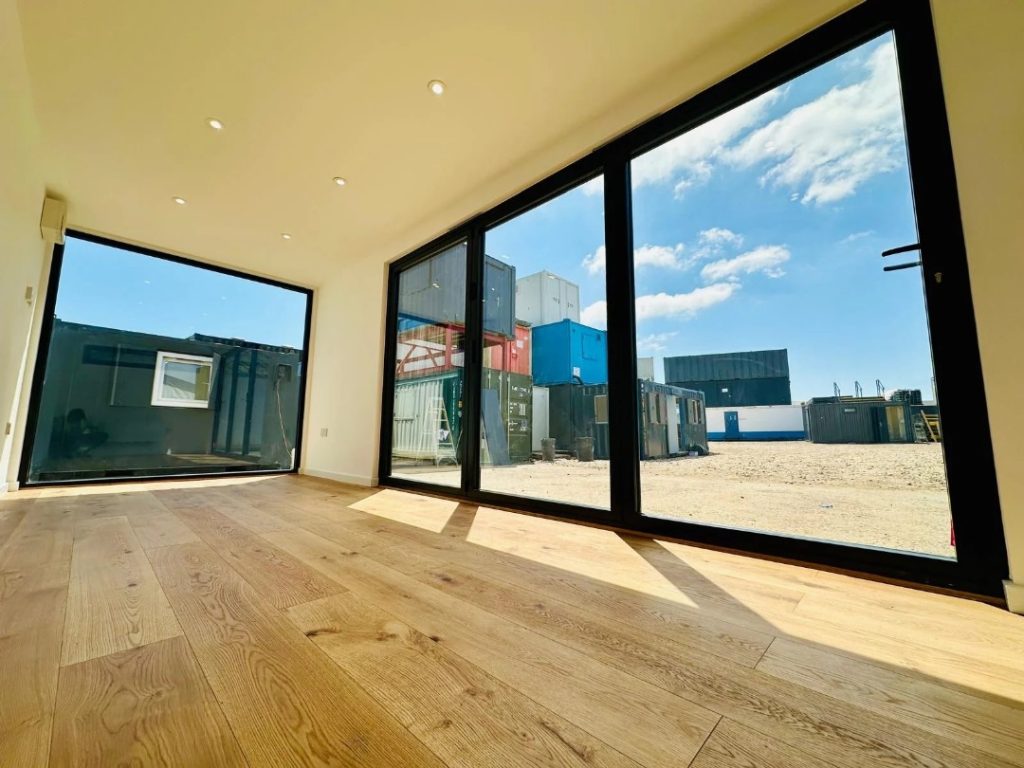
| Office/Modified | Custom interior (often 20‑ft) | N/A | On‑site offices, showrooms |
Tip: When you’re just starting out, a standard 20‑ft dry container is the most budget‑friendly option, while a high‑cube 40‑ft gives you the extra vertical space you might need for pallets or a small workbench.
3. How to Choose the Right Size
- Make a List of What You’ll Store. Write down every item, its dimensions, and how often you’ll need to access it.
- Calculate Total Volume. Multiply length × width × height for each item, then add them together.
- Add a 20‑30% Buffer. You’ll need space for aisles, pallets, and future additions.
- Match to Container Volume.
| Container | Internal Volume (cf) | Approx. Cubic Meters |
|---|---|---|
| 20‑ft Dry | 1,170 cf | 33 m³ |
| 40‑ft Dry | 2,380 cf | 67 m³ |
| 40‑ft High‑Cube | 2,700 cf | 76 m³ |
If your total volume (including buffer) falls under 1,000 cf, a 20‑ft unit should be sufficient. Anything above that? Look at a 40‑ft or high‑cube model.
4. Where to Find Reliable Container Hire Companies
| Provider | Coverage Area | Typical Rate (per month) | Notable Perks |
|---|---|---|---|
| ContainerCo | Nationwide (US) | $150 – $250 (20‑ft) | Free delivery within 100 mi |
| QuickBox Rentals | East Coast (US) | $140 – $230 (20‑ft) | 24/7 customer support |
| EuroContainer | Europe (EU) | €130 – €210 (20‑ft) | Eco‑friendly refurbished units |
| Rent-a-Container | Australia | AU$180 – AU$260 (20‑ft) | On‑site installation service |
| Local Port Authority | Port cities worldwide | Variable | Often the cheapest option, but limited customization |
How to Vet a Provider
- Read Reviews on Google, Trustpilot, or industry forums.
- Ask for Photos of the actual unit you’ll receive—look for dents, rust, or water damage.
- Check Insurance Coverage – does the provider cover theft or weather‑related loss?
- Confirm Delivery & Pick‑up Logistics – know the exact dates, loading ramps, and any extra fees for stair‑well access.
5. Step‑by‑Step Process to Hire Your Container
| Step | Action | What to Watch For |
|---|---|---|
| 1 | Define Your Needs – size, type, duration. | Avoid “just in case” over‑specifying; it drives up cost. |
| 2 | Get Quotes – contact 3–5 providers, ask for itemised pricing. | Look for hidden fees (fuel surcharge, permit fees). |
| 3 | Inspect the Unit – once a unit is allocated, request photos or a virtual walkthrough. | Check for rust, door seals, lock condition. |
| 4 | Sign the Rental Agreement – read the fine print. | Note cancellation policy and damage deposit terms. |
| 5 | Schedule Delivery – provide exact site coordinates, any access restrictions. | Ensure ground is level; you may need a concrete slab or wooden pallet base. |
| 6 | Load & Secure – use pallets, straps, and protective sheets. | Keep a “load map” for easy retrieval later. |
| 7 | Maintain – sweep, check doors, and monitor humidity (especially for electronics). | Small maintenance prevents larger claims. |
| 8 | Arrange Pick‑up – give at least 48 h notice; clear the surrounding area. | Return the unit clean to avoid extra cleaning fees. |
6. Cost‑Saving Tips
- Bundle Services. Some companies offer a discount if you rent two containers at once.
- Long‑Term Rental Negotiation. A 6‑month contract can shave 10‑15% off the monthly rate.
- Pick‑Up Location Flexibility. Allowing the provider to drop the container at a nearby depot for you to transport can be cheaper.
- Avoid Peak Seasons. Summer and holiday periods often see higher demand and rates.
7. Common Mistakes (and How to Avoid Them)
| Mistake | Consequence | Prevention |
|---|---|---|
| Under‑estimating Space | Overcrowded container, damaged goods. | Use the volume‑buffer method above. |
| Ignoring Access Restrictions | Delivery delays, extra lift‑gate fees. | Survey the site and discuss with the provider beforehand. |
| Skipping Insurance | Paying out‑of‑pocket for theft or damage. | Add a modest insurance rider; many providers offer it for < 2% of value. |
| Leaving the Container Unlocked | Theft or vandalism. | Install a high‑security padlock and change codes regularly. |
| Not Checking for Moisture | Rust, mold, or ruined inventory. | Use moisture indicators and breathable dehumidifiers inside. |
8. Frequently Asked Questions
Q1: How long can I hire a container?
You can rent a container for as little as a single day (most providers charge a daily rate) up to several years. Most customers opt for 1‑12 months.
Q2: Do I need a special permit to place a container on my property?
It depends on local zoning laws. Residential neighborhoods often require a temporary use permit, while commercial sites may need a building permit. Check with your city planning office.
Q3: What’s the difference between a “dry” and a “reefer” container?
A dry container is uninsulated and not temperature‑controlled – ideal for most goods. A reefer (refrigerated) container has built‑in cooling units and insulation, maintaining a set temperature for perishables.
Q4: Can I modify the interior (e.g., add shelves or electricity)?
Yes. Many providers offer “office‑fitout” packages that include shelving, lighting, and power outlets. If you do it yourself, be sure to get written permission to avoid breaching the rental contract.
Q5: What happens if the container is damaged during my rental?
You’ll be responsible for repair costs unless the damage is covered by the rental company’s insurance or is due to a third party’s negligence. Document the condition before and after with photos.
Q6: Are there any environmental considerations?
Most hired containers are refurbished and made from steel, which is recyclable. Choosing a provider that follows ISO‑14001 environmental standards can further reduce your carbon footprint.
9. Quick‑Reference Checklist (Print‑Friendly)
- Determine exact dimensions of items to store
- Choose container type (dry, high‑cube, reefer, etc.)
- Get at least three quotes, ask for itemised costs
- Verify provider’s insurance and read the rental agreement
- Inspect the container (photos, condition report)
- Arrange delivery date, confirm site access & ground condition
- Load using pallets, straps, and protective sheets
- Install a secure lock and keep the key/code safe
- Schedule regular inspections for moisture/door function
- Notify provider 48 h before pickup, clean interior
10. Final Thoughts
Hiring a container can feel like a daunting task at first, but once you break it down into manageable steps, it’s surprisingly straightforward. By knowing what you need, comparing options, and staying on top of the little details—like insurance, permits, and proper loading—you’ll enjoy a hassle‑free storage or workspace solution that saves you time, money, and stress.
Remember, the right container is out there, waiting for you to call it “yours” for a short while. So go ahead, take the first step: pick up the phone, request a quote, and start planning the perfect temporary space for your next project. Happy hiring!